[A] few weeks ago, I asked if there were any topics that folks would like me to cover as part of the Going Paperless series. I ask this a couple of times a year, and almost always get good suggestions. One of the suggestions that came in this time around was a post on how I manage the Going Paperless blog. That one intrigued me, so today, I thought I’d take up that topic today.
1. Keeping track of ideas
It will surprise no one that I keep track of ideas for my Going Paperless posts in Evernote. Typically, I’ll create a note that is nothing more than a title and then give it a tag of “blog-topic.” Sometimes, I’ll add additional details to the note about specifics I want to cover, but for the most part, the notes are just a title, with the topic. Here, for example, is the note I created for this post.

Each week, I filter through the list of ideas and pick the one I am most interested in writing about that week. On occasion, I’ll come up with a last-minute idea and write about that instead, but generally, I work from the pool of existing ideas.
2. Outlining the posts
I try to write my posts on Sunday, but I’d say I’m successful about only 50% of the time. If I don’t write the post on Sunday, then I tend to write it Monday night (25% of the time) and if I don’t write it Monday day, I write it first thing Tuesday morning (25% of the time). As it happens, I am writing this post first thing Tuesday morning because by the time I finished everything else yesterday, I was too exhausted to write any more.
Over the years, I’ve developed the habit of doing a rough outline of my Going Paperless posts. I generally don’t outline blog posts, but I find that for clarity, the posts come out better when I outline them. I do this directly in WordPress, using the level 2 headings as the “topics” of my outline. These topics find their way into the post as the major “sections” of the post. The outline and the structure of the final post don’t always look identical, but they are usually pretty close. Here is what the outline looked like for this post when I started this morning. You can see for yourself the slight differences between what I outlined and what made it into the final post.
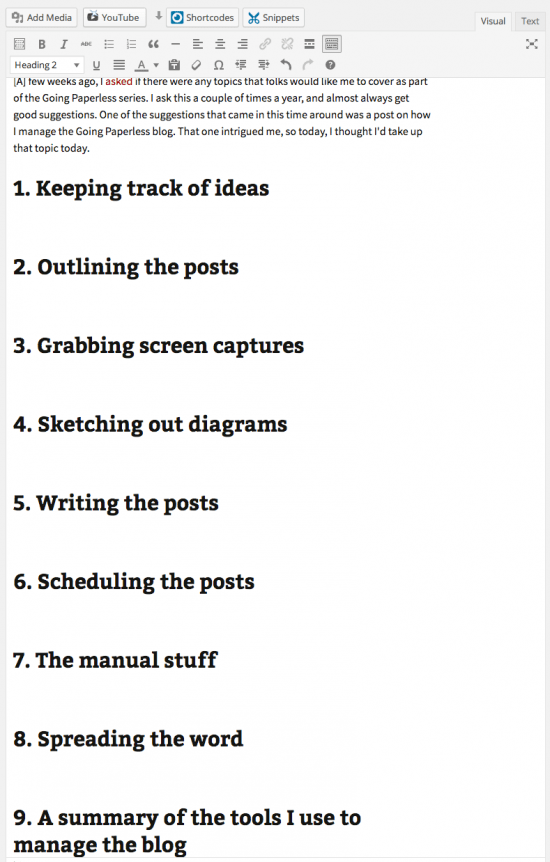
Outlining the post helps me identify gaps or leaps that I might make that could make the post confusing. The sections that evolve from the outline also serve another useful purpose when it comes to promoting the post, which I’ll get to in #9 below.
I sometimes get asked how I go about organizing the posts that I write. Rather than the tools that I used, I think what I’m being asked is how do I come up with (conceive) the actual logical organization. To this I can’t provide a good answer, I’m afraid. I’ve always had a knack for being able to “see” the organization in my head. Isaac Asimov once likened this to the way a musician can see the patterns in the music or a chess player can see the patterns in the game. I see the patterns in the organization, and it falls into place. Not always perfectly. Usually, I make some adjustments. But the general structure is there, it is not difficult for me, and, alas, I can’t describe what it is that happens inside my head to make it so.
3. Grabbing screen captures
My Going Paperless posts generally almost always contain screen captures to help illustrate the process I am describing. I use Skitch for all of my screen captures. It is by far my favorite tool for capturing screen shots, and annotating them, and I use it on my iMac (where I am writing this post), my MacBook Air, my Windows laptop, and my iPhone and iPad.
Skitch makes it easy to capture screenshots with simple keyboard shortcuts. There are some additional features that I use frequently within Skitch that I really like. Two of these are:
- Timed screen captures. Ever want to grab a screenshot of a pulldown menu, but when you do, the menu disappears. Skitch eliminates that problem thanks to its timed-screen capture feature. This works much the same way as a timed photograph. You select the part of the screen you want to capture. A timer starts and you can arrange the screen (including menus) however you like. When the timer reaches zero, it captures the screen as it looks at that moment. I wrote an earlier post on this awesome feature.
- Image blurring. Especially for something like the Going Paperless blog, where I am using my own Evernote repository to demonstrate the ways in which I go paperless, being able to occasionally blur out parts of the image (like addresses or account numbers) is useful. Skitch comes with a built-in “pixelater” tool that allows you to blur out text and other parts of the image.
Using Skitch to capture screen shots is also very fast. And since Skitch syncs with Evernote, I can capture screenshots on my iMac at home, and still have access to them if I am working on my Macbook later on in the day. No extra steps involved.
4. Sketching out diagrams
Occasionally, you’ll see some hand-drawn diagrams on the Going Paperless blog. Like this one, for instance:

I sketch out these diagrams myself, using the Paper app (by FiftyThree) on my iPad. While I could use Photoshop to class up the quality of these images, there are three things I like about doing the diagrams this way:
- I like the informal feel of them. It’s just a preference, but I think it adds a unique character element to the post.
- I can do them much more quickly sketching them by hand than I could using a tool like Visio or Photoshop, where I’d end up getting bogged down in menus and features.
- It’s fun to sketch things out with your hand every now and then.
I use a Bamboo stylus, the same one I’ve been using for probably close to 2 years now. It works just fine for me and I’ve seen no reason to try another one.
When I am done sketching out my diagram, I use the sharing feature in Paper to email the drawing to my Evernote account, where I have access to it for use in my posts.
5. Writing the posts
Once I have my outline, screen captures, and diagrams, I sit down to write the post. I write the posts directly in WordPress1. I open a browser window, find the “outline” post I created above, and then start filling in the details.
To be sure, I have done a little automation here. I use a Templates plug-in that speeds up the process of creating the base “template” for my Going Paperless posts. When I first create the post in WordPress, I select the template I want to use. In the case of the Going Paperless posts, I select my Going Paperless template, which looks like this:

The template helps ensure I have the basic framework of the post in place. It is to this template that I add first the outline, and then begin filling in the details as I write the post, inserting images where they belong as I write.
6. Scheduling the posts
I typically try to schedule the posts for between 8 and 9 am Eastern time on Tuesday mornings. I use WordPress’s scheduling feature to schedule the post and simply set the schedule time for the time that I want to the post to appear. If all goes well, this post, for instance, should appear at about 9 am Eastern time.
I don’t use an editorial calendar for the Going Paperless posts, or for other posts on my blog for that matter. I have been running the blog long enough (nearly nine years now) where I have a feel for the schedule of things. The Going Paperless posts have been running for 2-1/2 years now and after more than 120 posts, I’ve gotten a feel for their schedule as well. Occasionally, I skip a week, or end up posting a day later than usual. Life sometimes gets in the way. But I do try to keep to the weekly schedule as best as I can manage.
7. The automated stuff
WordPress (and some additional plug-ins I’ve installed) help to automate some of the more routine elements of the post. Scheduling the post is one example. Making the initial announcements on social media is another. Upon the initial post being published, automated announcements are also posted to my personal Facebook wall, to my Facebook Writer page, to Twitter, LinkedIn, and Tumblr as well.
For this, I use the premium version of the NextScript social network auto-poster.
Thanks to some workflow with IFTTT and Pocket, the posts are automatically sent to my shared Going Paperless notebook in Evernote. People who subscribe to that notebook can see the posts in the notebook, usually a few minutes after they appear on the web.
And of course, the posts are available via the RSS feed once they are posted.
8. The manual stuff
That said, there is still some stuff I do that is somewhat manual. I usually send an email message to the folks at Evernote who manage the Evernote Ambassador program, making them aware of the new post. Occasionally, they will signal boost the post through the Evernote account, which is why, sometimes, you might learn about the post through that channel. For this email, I usually write it immediately after finishing the post, and it follows a standard template. I use Boomerang to schedule the email to be sent a few minutes after the post goes live, so that I don’t have to stop what I am doing and send the email.
I manually post the link to the post in Google Plus. The NextScript plug-in can do this, however, it doesn’t work if you use 2-factor authentication with your Google accounts, which I do. So this is a manual step, as is posting an announcement in a couple of Facebook groups.
I also post to the Going Paperless Pinterest board that I maintain, and the Going Paperless subreddit.
Two more manual steps I take after each post goes live:
- Adding the post to the master index of Going Paperless posts.
- Updating the current “Going Paperless” article link in the sidebar of the blog.
9. Promoting the post
Promoting is one of those things that you really have to get a feel for in order not to be overly annoying, and I am constantly worrying whether I am going too far overboard with my promoting, or not far enough. I will say that so far, no one has said to me, hey, how come you are tweeting about this post four or five times this week? I imagine it will happen at some point, but I do try to find a good balance of getting the word out, and not annoying people.
After the initial post has gone out, I use Buffer for all future promotion. I have Buffer setup to post to Twitter, Google Plus, Facebook and Facebook Page, and LinkedIn. I have a pre-defined schedule for when the things I send to Buffer get posted each day. So I’ll spend some time scheduling announcements of the new post through out the week, always walking that fine line of getting the word out without being annoying.
One thing I do–a tip I learned from the Buffer blog–is make use of the outline I created at the start to help promote the post. Instead of posting the same tweet 5 times a week, I will occasionally make use of the subsections of a post. Also, I’ll change the Tweet from time to time. Later today, for instance, you’ll see a tweet go out that says something like:
10 steps for how I manage the Going Paperless blog
Or something like that. Again, I try to remain sensitive to that balance between too much and not enough.
10. Dialog and discussion
I’m not finished once the post is out. One of the great things that has evolved over the years in the Going Paperless blog are the great discussions that emerge from the posts. Some posts only get a few comments, but others get many. In addition, I get questions in various social media (Twitter, Facebook) and even direct emails that ask questions about the topics covered in the post.
I try to respond to all of these as quickly as I can. I have two reasons for this. First, I want to encourage discussion. And second, I know that people are looking at the post from all over the world, and so I want to get the responses out quickly, so that the discussions can continue, even if I am away from the blog for a while.
Those are the ten steps for how I manage the Going Paperless blog. I hope the behind-the-scenes tour has been helpful, especially for folks considering managing their own blog. I was going to spend some time talking about some of the stats surrounding the blog, from the number of posts and comments, to how the audience has grown over the years, but as this post is already nearly 2,400 words long (tl;dr), I’ll save that topic for another time.
In the meantime, as always, thanks for stopping by, and if you have any questions about how the blog is managed behind-the-scenes, please drop them in the comments.
If you have a suggestion for a future Going Paperless post, let me know. Send it to me at feedback [at] jamietoddrubin.com. As always, this post and all of my Going Paperless posts is also available on Pinterest.
Last week’s post: Confessions of a Paperless Writer.
Enjoy these posts? – Tell a friend
Recommending readers is one of the highest compliments you can pay to a writer. If you enjoy what you read here, or you find the posts useful, tell a friend! Find me online here:
Twitter | Facebook | Google+ | Reddit | Blog | RSS
Or use one of the share buttons below. Thanks for reading!
- I use a self-installed and managed version of WordPress 4.0, using the Twentythirteen theme in conjunction with a customized sub-theme. ↩
Comments